Maple Syrup – Feed Your Own
Originally published on September 12, 2024.
Last Updated on September 15, 2024.
This is the 1st post in what I plan to do as a series of posts about creating your own food supply.
This is how I harvest Maple sap and make my own Maple syrup.
Equipment
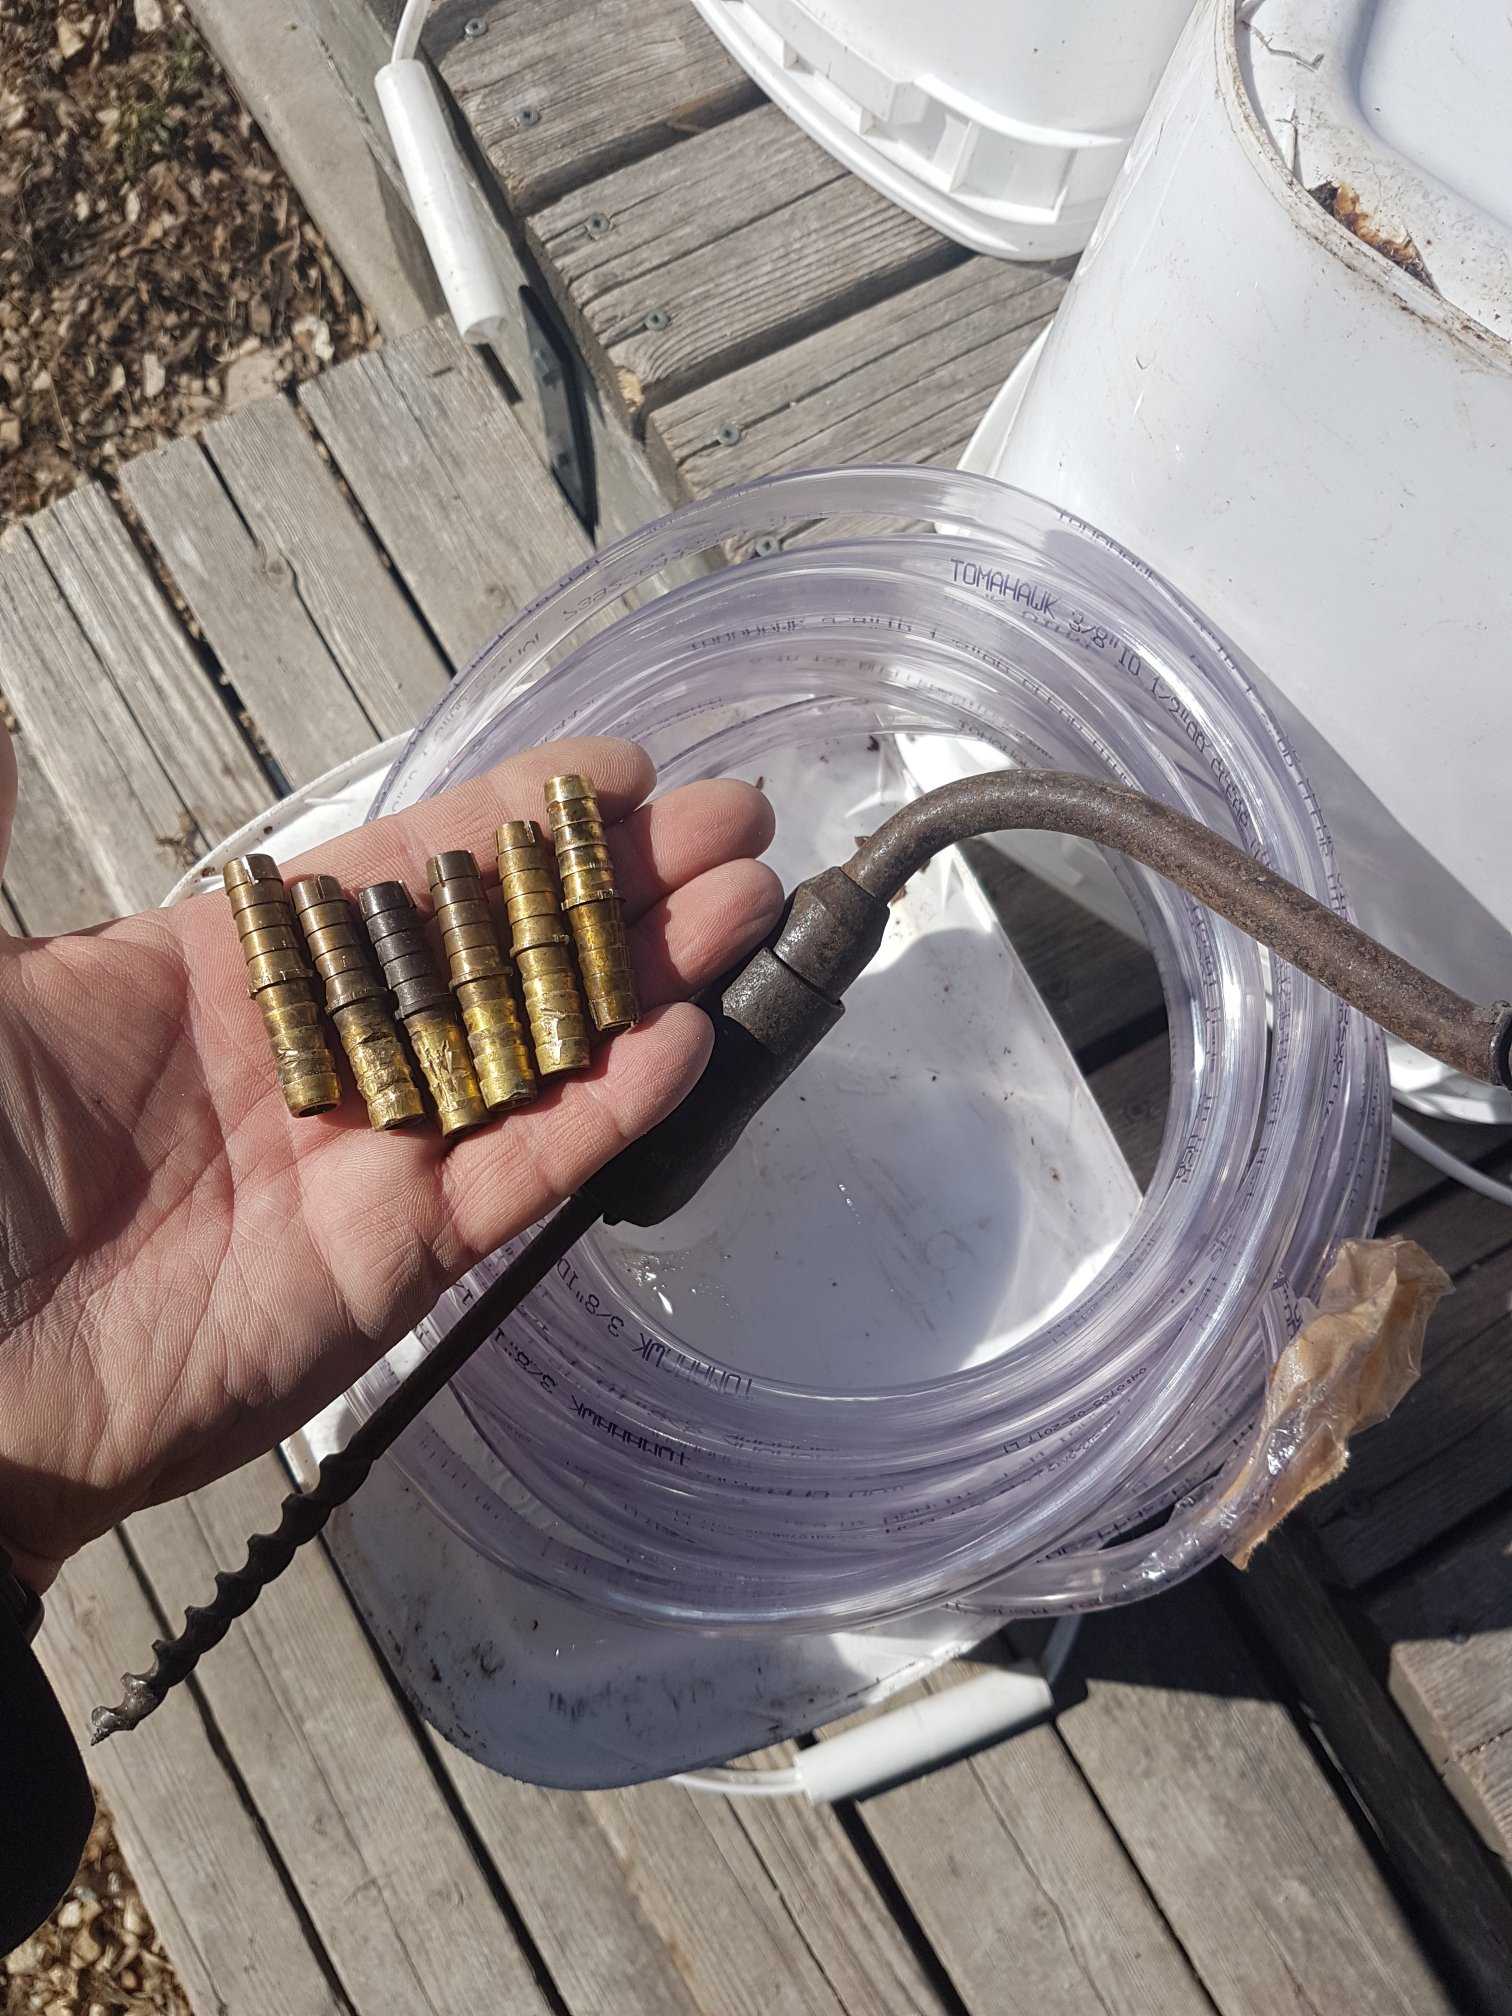
- I use food grade buckets that I picked up from a local grocery store bakery. I think I paid a buck a piece.
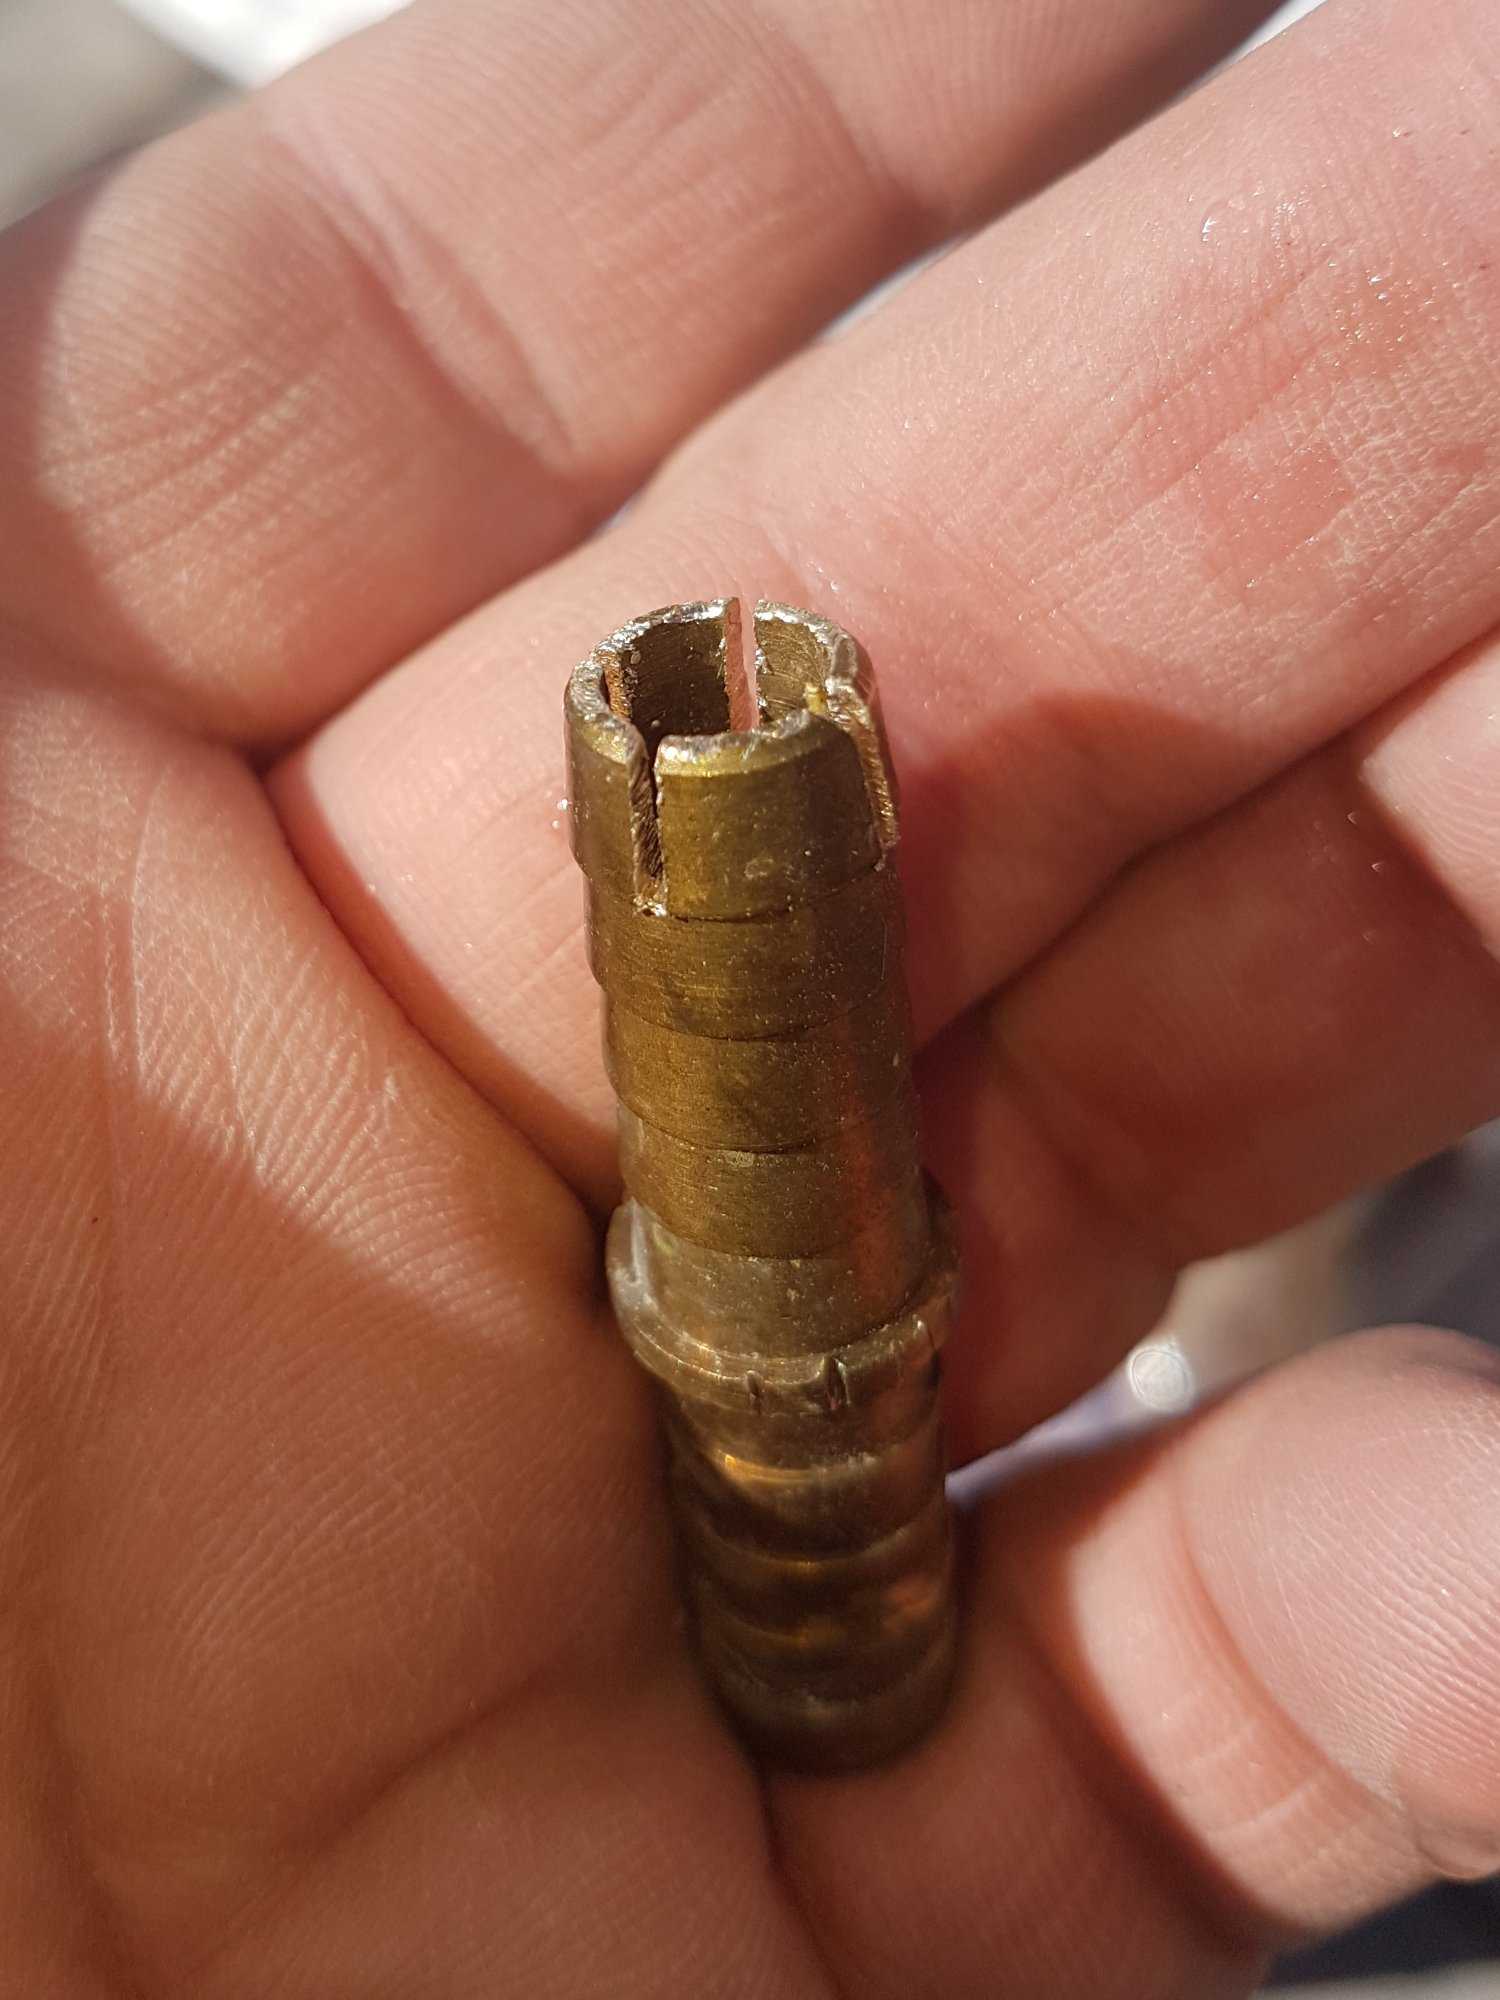
- For taps I’m using 3/8″ brass unions from my local hardware store. I notched the ends to create more flow but I have no clue if that really made a difference or not. Just made sense to me.
- I use 3/8″ hose to move the sap into the buckets.
Method
I use a hand drill (just because its easy) to drill a hole into my Maple at a slight upward angle and a little deeper than the half the union. The angle is to make the sap flow by gravity and slightly deeper than half the union so the union does not get plugged with wood when tapping in.
I use a hammer to tap the union into the tree till the center ridge tight against the bark which stops most sap from leaking out around the edge of the hole. Hose to bucket and let her run.
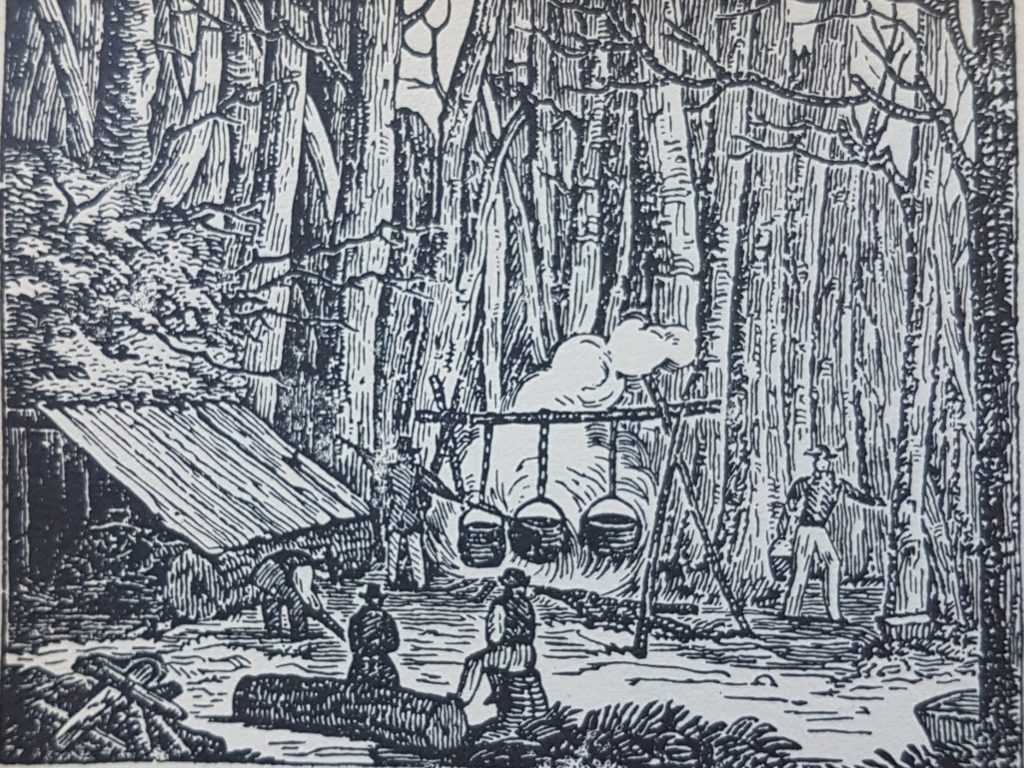
Boiling
For boiling I use an old ‘Pots and Pans’ drawer from a stove. Its porcelain so is smooth and nice and clean. It holds gallons and is wide so it has a lot of surface area for boiling.
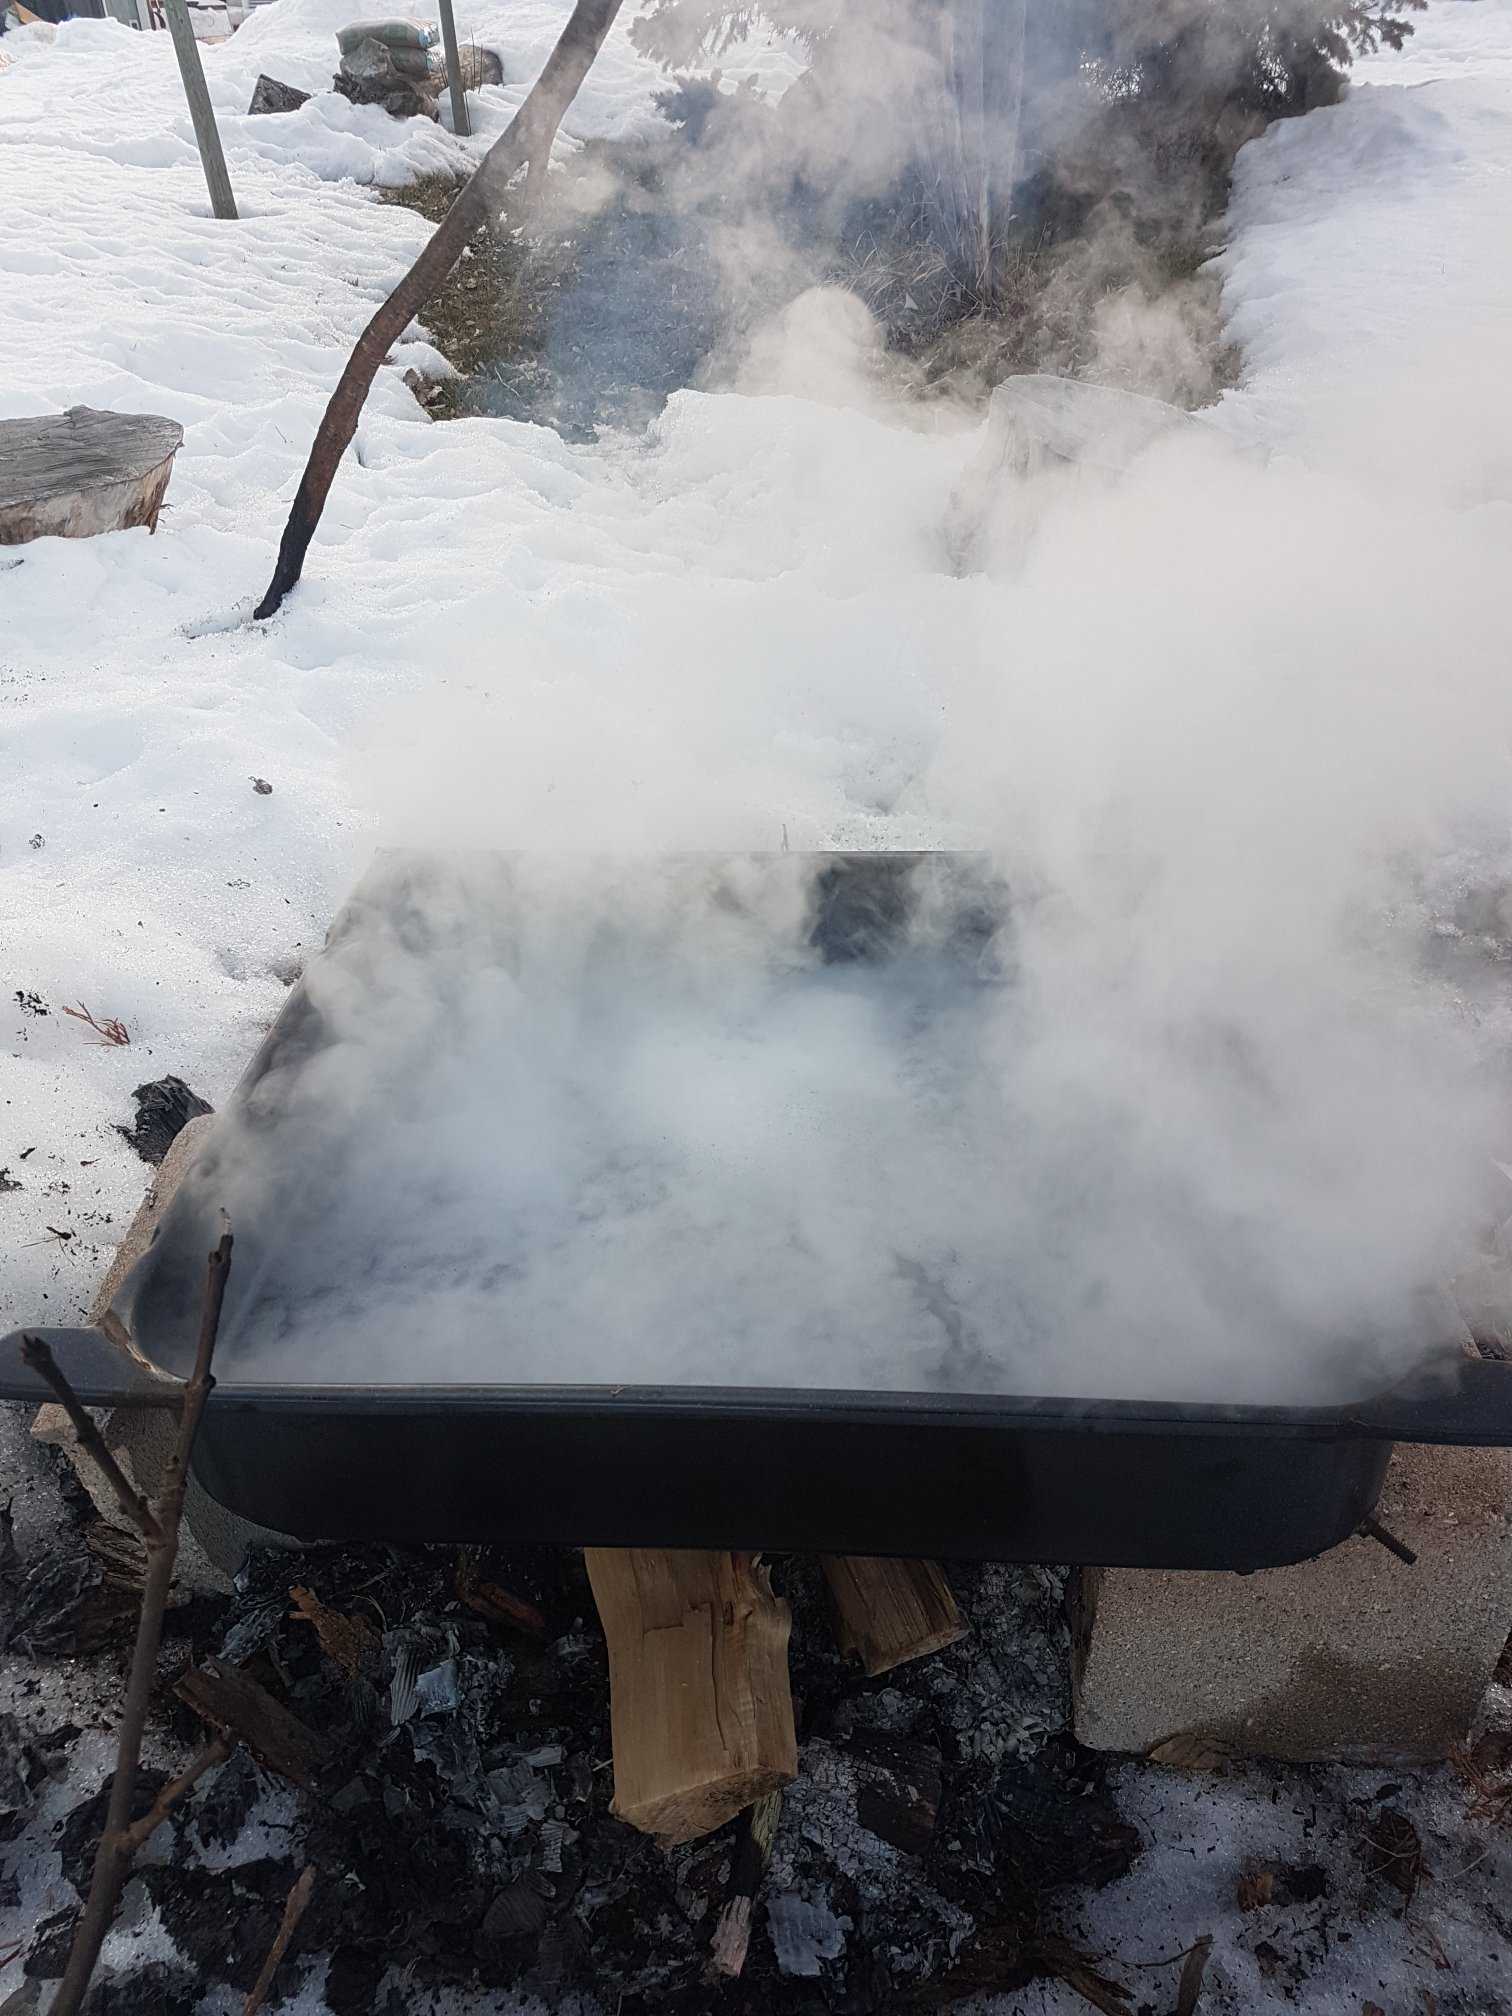
I do this outdoors over an open fire with the pan between two cinder blocks. Feeding it hardwood slowly while watching the sap boil is very relaxing and cathartic … especially after dark with the moon in the background.
Finishing Syrup
I boil the sap down till it begins to thicken but not yet streaming from the spoon and then I transfer it to a pot and finish on the stove where I have more control over the temps. I don’t use a thermometer or hydrometer although I probably should. I use the old ‘sheeting off the spoon’ method which can be hit or miss – but the end product is just as good, just not exactly the same consistency. Basically, the the syrup ‘drips’ off the spoon in a stream, its done. I usually go for another minute or two just to make sure it’s thick, but that’s it. I’ll try to get a video or pictures of what it looks like at this stage. Going thicker is nice too – makes a kind of caramel which tastes amazing on ice cream or as drizzle on coffee cake. So thicker is not a bad thing.
Storage:
We usually keep our syrup in the back of the fridge, but if you bottle it hot, the lids will often seal and you can store it on any shelf. We picked up a couple of sealing bottles from Ikea to store ours in. (I’m not an Ikea fan by any stretch, but these worked great!)